How to Carve a Pumpkin – Step by Step The Easiest Way
Halloween is my favorite holiday as the leaves changes colors and the festive spirit is in the full swing. Head over to your local pumpkin patch.
This is the best time to carve a pumpkin.
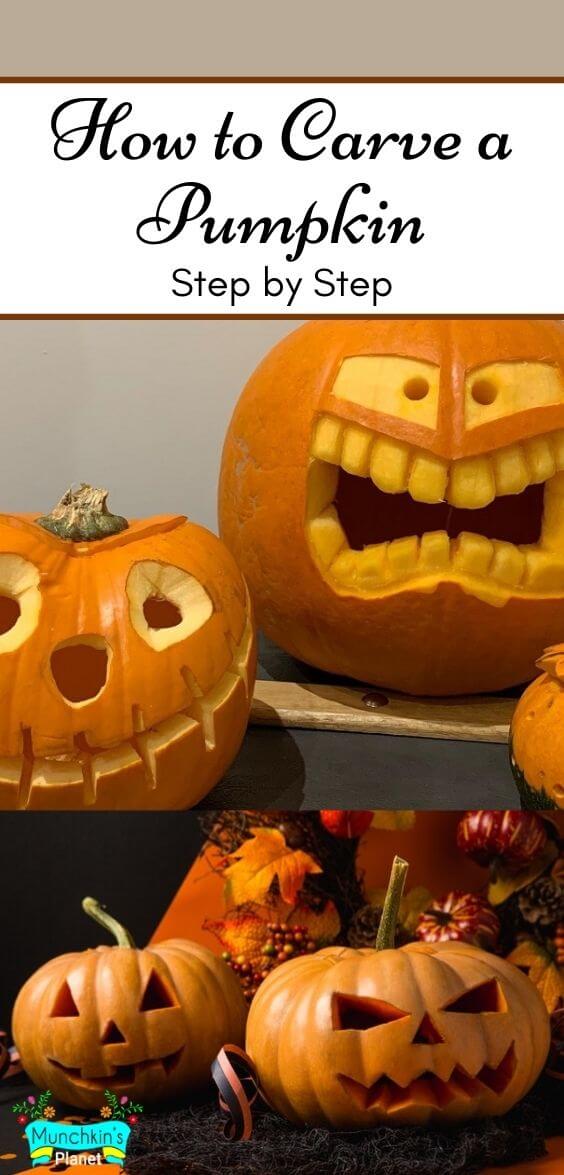
Pumpkin carving is always a fun activity during Halloween as being part of the Halloween tradition. I love the classic jack-o’-lantern style pumpkin carving.
In my opinion, what makes pumpkin carving so special is your creativity. You can take inspiration from Pinterest and then create your own designs and patterns.
When you purchase the pumpkins from the local farmer’s market your mind starts thinking about the patterns. Creating dots with the driller, cookie-cutter design, Jack skellington, and tons of creative ideas using stencils.
Here I’ll share some of my tips and tricks to make your pumpkin carving easy and helpful with this step-by-step guide.
How to Select The Best Pumpkin – Buying Guide
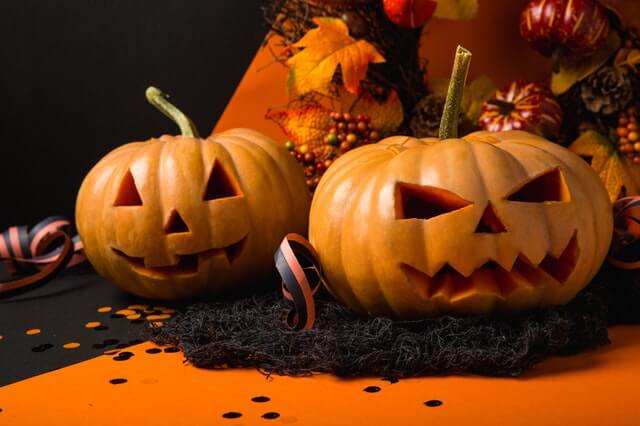
Buy your pumpkin 5-6 days before Halloween, so that your pumpkins last longer and there is less chance of getting pumpkins rotten.
Criteria to select a good quality pumpkin
- Try to find a pumpkin that doesn’t have any cut, dent, or damaged part on it.
- The color should be consistent on all sides.
- make sure it has a sturdy stem.
- Select a mix of a few large, medium, and small pumpkins.
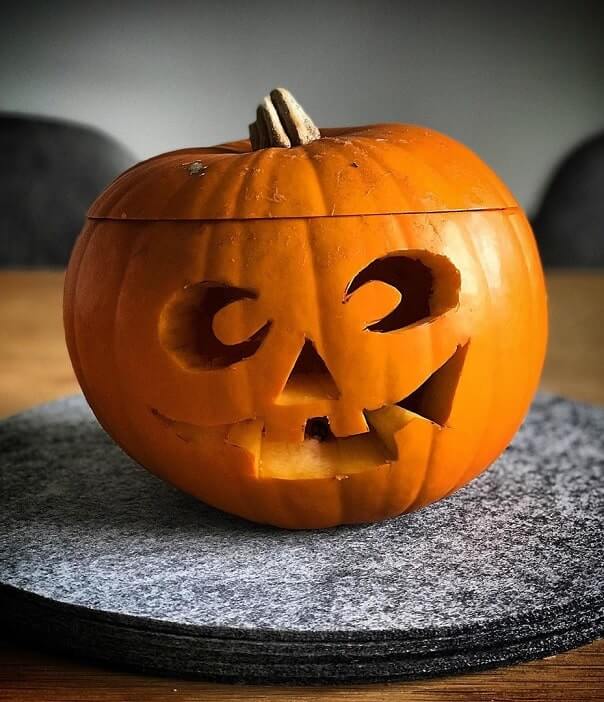
How to Carve a Pumpkin – Easy Steps by Step Guide
1. Before starting carving, I’d suggest getting the drawing stencils for pumpkin carving. These are reusable templates that will make your carving job very easy and you also get tons of design ideas for the jack-o’-lantern. You can also look over Google images for inspirational pumpkin carving designs.
2. You can start carving the pumpkin lid from the top but I’d recommend cutting from the bottom because it gives a good finishing from the top and no one can see the cut at the bottom.
3. Scoop out all the seeds and pulp from the pumpkin. Scrap the inside wall of the pumpkin to reduce the thickness this will make the carving lot easier.
4. Now put the stencil design over the pumpkin and start carving. If you don’t have a stencil, simply take a pencil and draw the eyes, nose, and mouth pattern and start carving over the lines. cut out the eyes, nose, and mouth with the mini saw from the kit.
5. Once you finished carving the design, clean up the surface, and wipe off any pencil mark over the pumpkin.
Pro tip: Make sure to rub Vaseline or petroleum jelly over the carved pumpkin, it will help retain the moisture and your pumpkin will last longer.
6. Put a tea light candle inside the carved pumpkin.
Cool Pumpkin Carving Ideas For Halloween
Oogie Boogie design from Disney’s The Nightmare Before Christmas villain character.
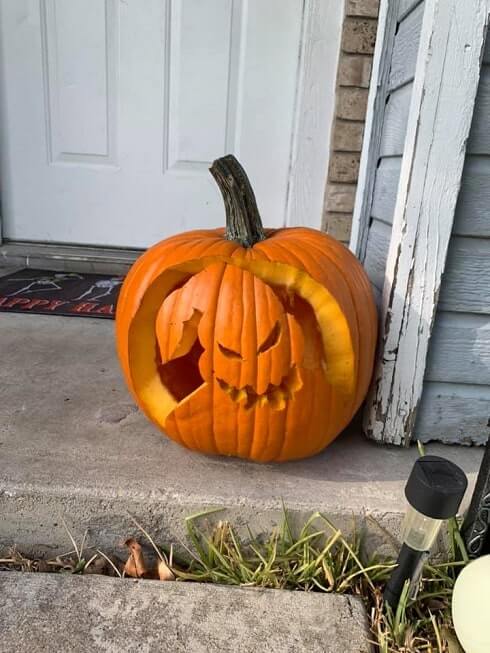
Pumpkin face-off is an easy and fun pumpkin carving idea you can try this spooky season.
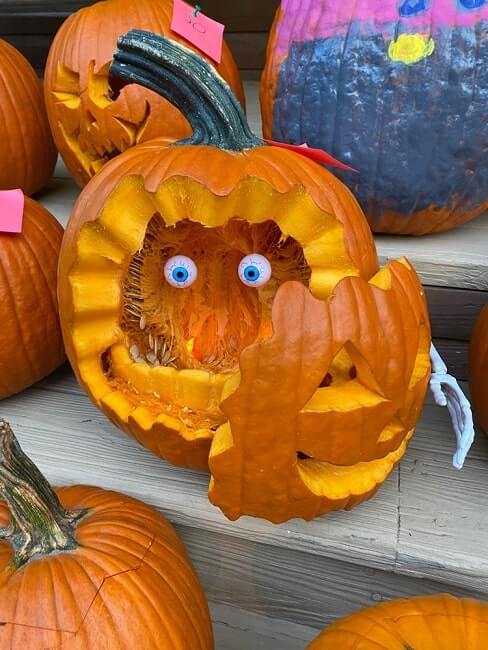
Unique flower design for pumpkin art.
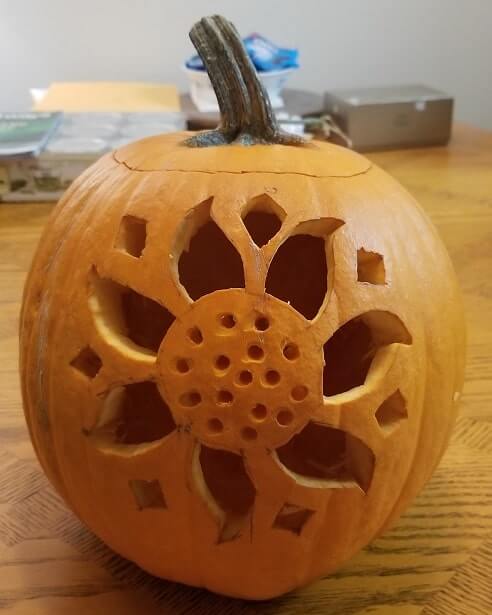
Scary pumpkin carving design to add more spookiness to your Halloween decoration.
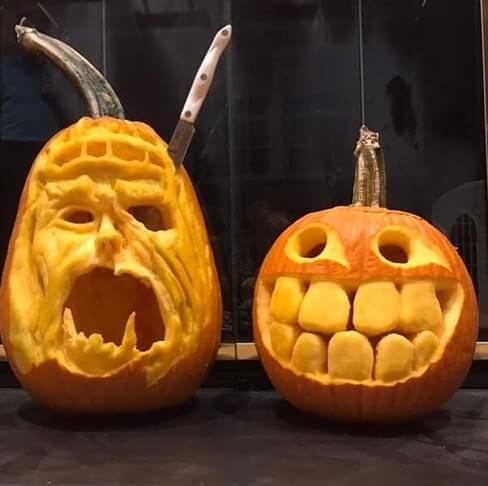
You must have seen many variants of cannibal pumpkin carving on Pinterest. What makes it stand out is the way teeth are carved. Must be at top of your list.
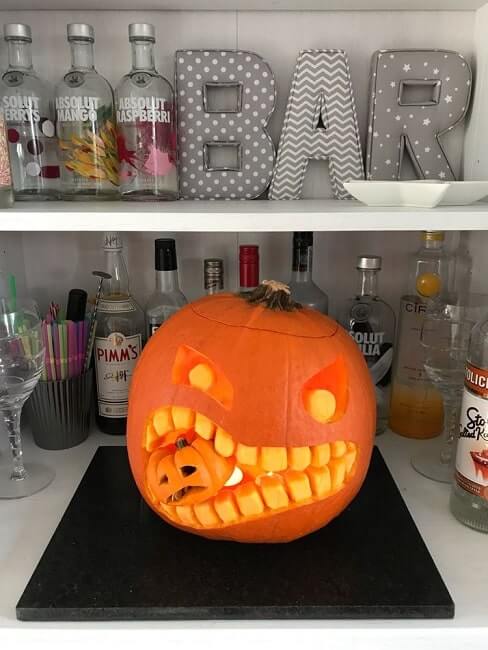
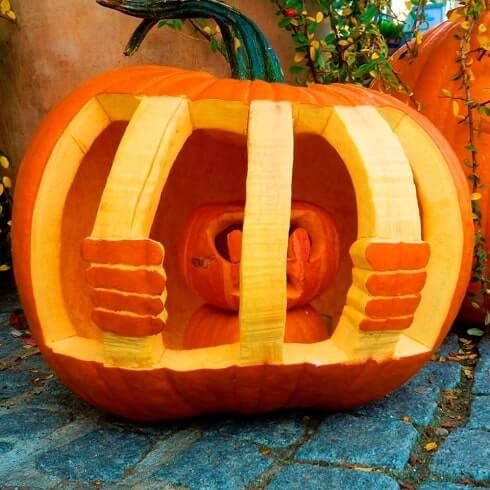
Inside pumpkin jail is a very creative pumpkin carving idea to try this Halloween
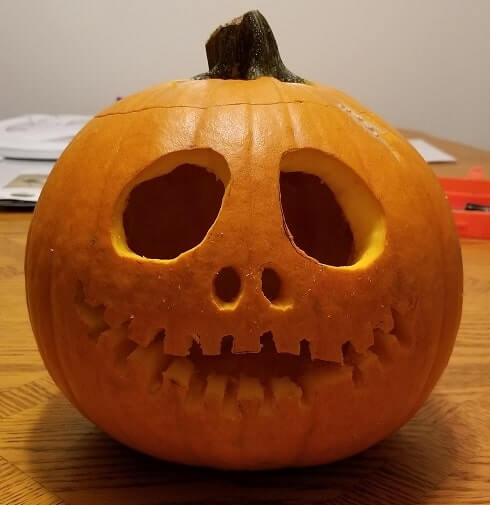
Jack Skellington is the most iconic character from The Nightmare Before Christmas carved out on a pumpkin.
If you enjoyed this post or want to save it for your inspiration, please pin it on the Halloween board on your Pinterest.
