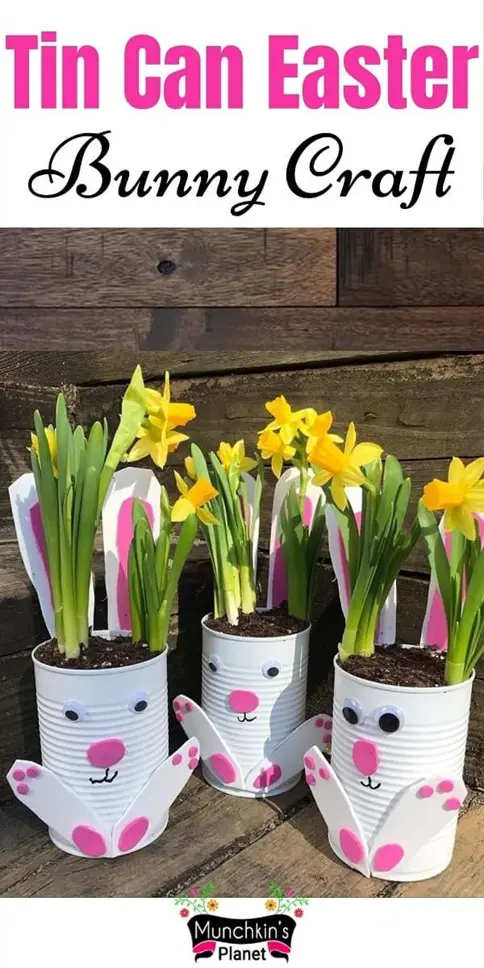
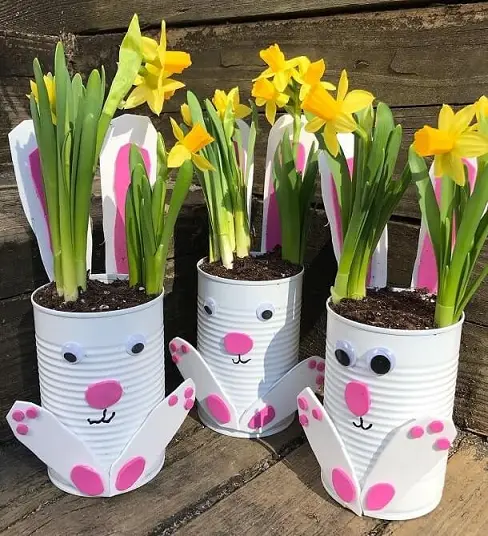
Tin Can Easter Bunny Craft For Kids
This post may contain affiliate links. Please read the disclaimer.
Spring is a great time, everything is just blooming outside that inspires us to create some cool Easter crafts with kids.
What comes first in your mind? Of course bunny!
Bunnies are the cutest animal that we love to recreate through our crafts. I mean, who don’t love adorable long ears and cute fluffy tail.
My kids are just crazy about bunnies and rabbits, there are so many craft ideas you can try with them.
Not the same old paper rabbit or sock bunny, I promise to share something different this time – Tin can Easter bunny.
Tin can Easter bunnies are easy to make with kids, also they are perfect rainy day crafts for kids. These bunnies are one of my favorite Easter crafts.
Let’s try our hands on these adorable tin can Easter bunny crafts.
How to make a tin can Easter Bunny?
The main idea of this craft is to repurpose simple materials you can easily find at home. So, we’re going to use tin cans for our bunny craft. I would like a special mention to New Generation Learning Center (Instagram) for this craft. The above is from New Generation Learning Center. Please do check out their Insta for more fun activities for kids.
Materials you need:
- Two empty tin cans
- White spray paint
- Pink and white EVA foam sheets
- Set of googly eyes
- Artificial tulip plants
Directions:
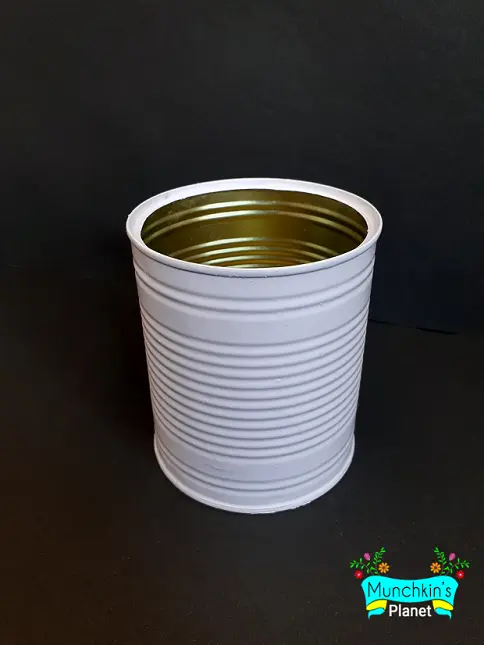
1. First clean the tin cans properly and make sure to press all the sharp edges near the can opening.
2. Spray one coat of white paint on the can and allow it to dry. Then again, apply two more coats of white paint to get the perfect shiny white finish.
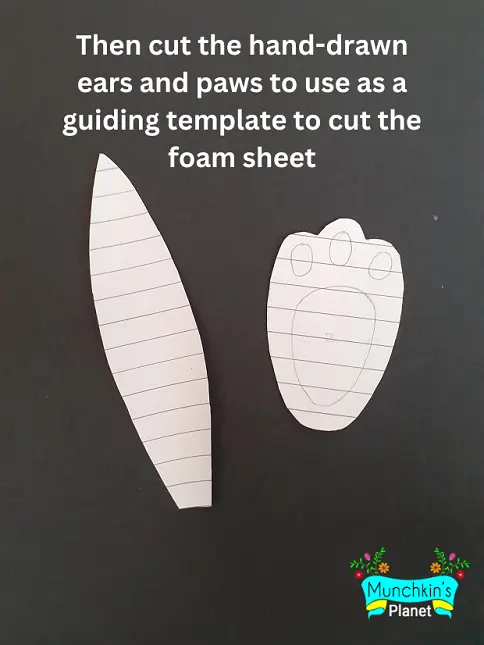
3. For making bunny ears, first we need to make a guiding template to make bunny ears and paws. Take a blank paper and hand draw bunny ear and paw with pencil as shown in the image below.

Then cut the hand drawn ears and paws from the paper, use this as guiding template to cut foam sheet.
Remember to cut two white-colored EVA foam sheets for outer portion of bunny ears. Similarly, cut two pink foam sheets slightly smaller than the white ones for the inner ear. Glue the pink ears over the large white ears.
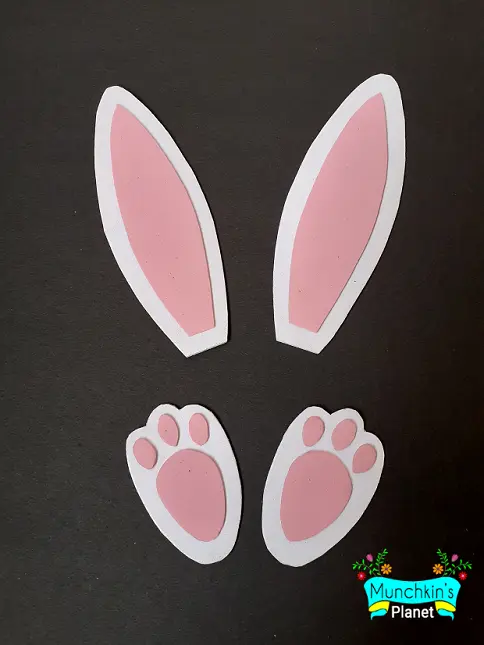
4. For bunny feet, cut two white foam sheets in the shape of the bunny feet from the paper template. Also, cut small circles from pink sheets to look like bunny’s toes (3 toes on top and 1 large sole at the bottom) as you can see in the pictures. Glue these pink circles on the bunny’s feet.
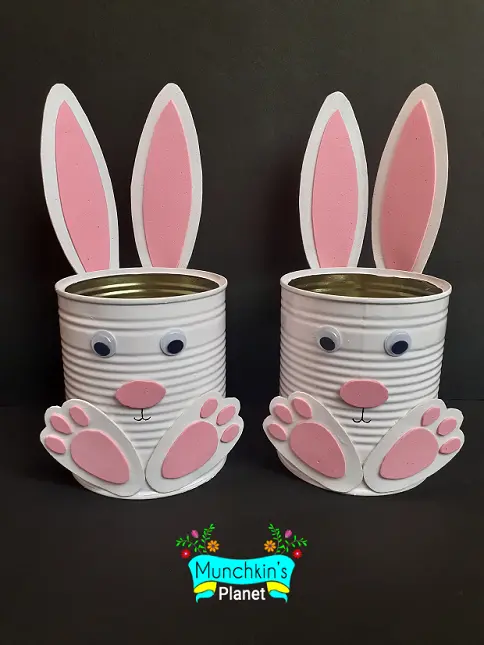
5. Cut a pink circular foam for the bunny’s nose.
6. Stick the googly eyes on the tin. Fix the nose, feet and glue the ears at the back of the tin can.
7. Give the finishing touch by making bunny’s mouth and nostrils with a pen or marker.
8. Place some artificial flowers of your choice or going with the spring theme you can also use tulips or daffodil plants into the tin can bunny.
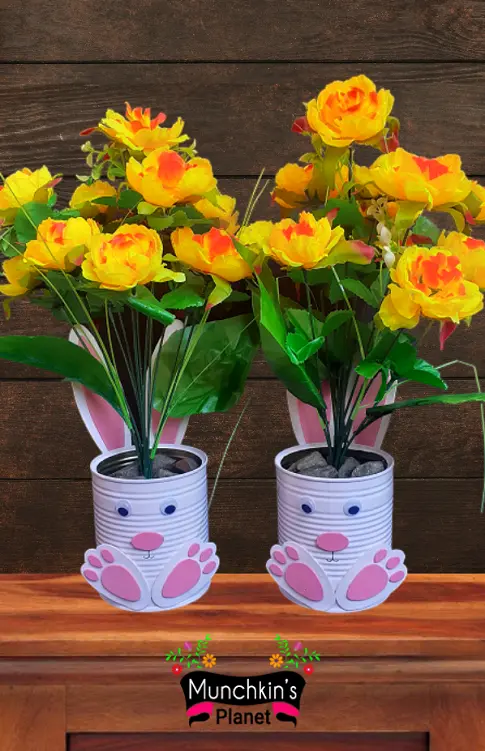
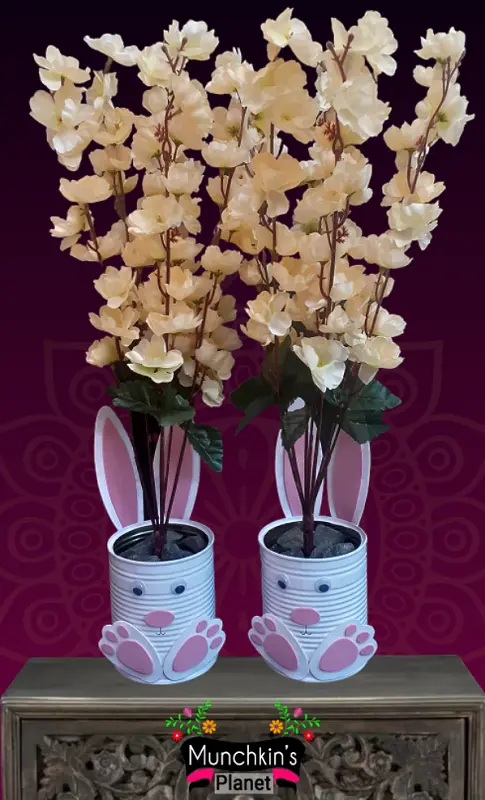
Isn’t it easier than you thought? You can decorate your home with this Easter craft or gift it to someone you love.
In fact, I’d like to suggest using them as Easter baskets and fill all the Easter goodies that your kids love. Share your thoughts on making this easy DIY Easter bunny craft.
If you enjoyed this craft or want to save it to try later, please consider pinning the above images on the Easter Bunny Craft board on your Pinterest. It really helps me to reach more audiences.